
Do you never sit on your covered porch or patio because it’s too hot out even in the shade? A ceiling fan could make all the difference. A ceiling fan on your covered porch, patio, or gazebo can make things feel several degrees cooler on a hot day, just by moving the air. But you can’t hang just any ceiling fan outside.
You need to make sure you get the right kind of fan for outdoor use in your area. Installing a ceiling fan outdoors isn’t much harder than installing one indoors, but you’re more likely to need help with the electrical wiring, especially if you don’t already have a light fixture in the spot where you want to hang the fan. But first, you’ll need to make sure a ceiling fan is the right choice for your outdoor area.
Make Sure You Have Room for a Ceiling Fan
Before you commit to a new outdoor fan, make sure you have room for it in your outdoor space. Few among us are blessed with overly large covered patios or porches, but if you are, you can always buy a larger fan. But it can be hard to find fans sized appropriately for smaller spaces, even though ceiling fans come in sizes as small as 29 inches across.
Measure the ceiling area where your new fan will hang. Mark the spot in the center of your ceiling where your new fan will hang, and make sure the blades can rotate without hitting other fixtures or walls. Make sure there’s room to walk under your fan without hitting your head. Ideally, a ceiling fan should hang eight to nine feet off the floor. You can buy flush-mounted fans for areas with low-ceilings and use a down rod if you have a high ceiling.
Choose an Outdoor-Rated Fan
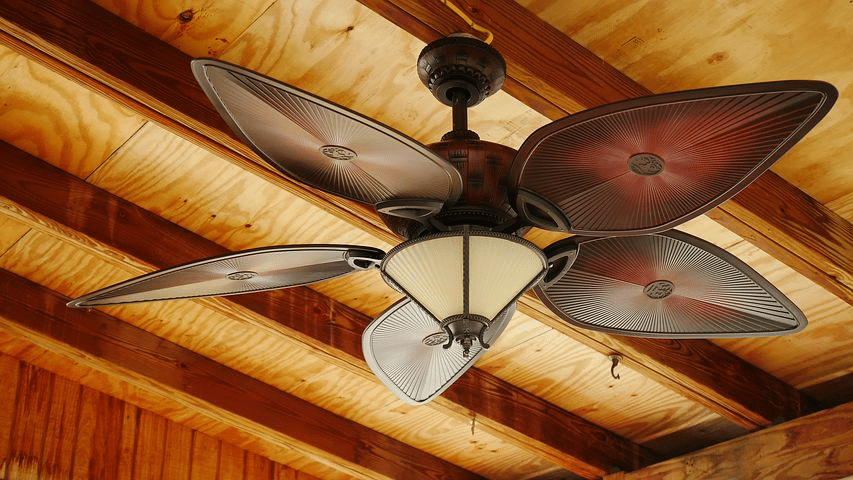
Make sure you get a damp-rated ceiling fan for use in covered outdoor areas. Indoor fans aren’t built to withstand the moisture that outdoor fans are exposed to, even on a covered porch. Your new outdoor fan will have water resistant blades and weather sealing around the motor housing. If you live near the sea, choose a marine-rated fan made with materials designed to withstand the corrosive sea salt winds.
Install Your New Outdoor Ceiling Fan
Once you’ve selected your new fan, you can install it. The most difficult part of installing an outdoor ceiling fan might be running the additional wiring the new fan requires, since you’re less likely to have a light fixture in the middle of your outdoor ceiling. If you do have a light fixture in the spot where you want to put your ceiling fan, though, you can just remove it and wire the ceiling fan up to the same wiring. If not, you might want to hire an electrician to help you wire it to an existing circuit.
Whether you decide to run the new wiring yourself or hire someone to help with that part, always cut power to the circuit before you work on your home’s wiring or wire up new fixtures in your home. Once you have the wiring in place, use a four-inch hole saw to cut a hole in the center of your outdoor ceiling, and pull the ends of your new wiring through the hole. Insert an expanding metal fan brace and pancake electrical box, then pull your wiring through the electrical box, making sure to wrap the ground wire around the ground screw before leaving a little ground wire to connect to your fan.
Attach the fan mounting bracket to the electrical box. Assemble the fan motor according to the instructions in the package, and wire up the fan motor by connecting the black wire in your fan to the black wire from your house, the white wire to the white wire, and the green or bare ground wire to the green or bare ground wire. Connect the wires by twisting the bare ends together and securing them with wire connectors.
With the wires connected, you can fasten the fan motor to the fan mounting bracket, then attach the fan blades. Wire up the fan light fixture, as necessary, restore power to the circuit and enjoy a cooling breeze.