Installing shelves on a wall can be a daunting task. It is important to have the right tools for the job. In this article, we will discuss the tools you need and provide tips for installing shelves on a wall.
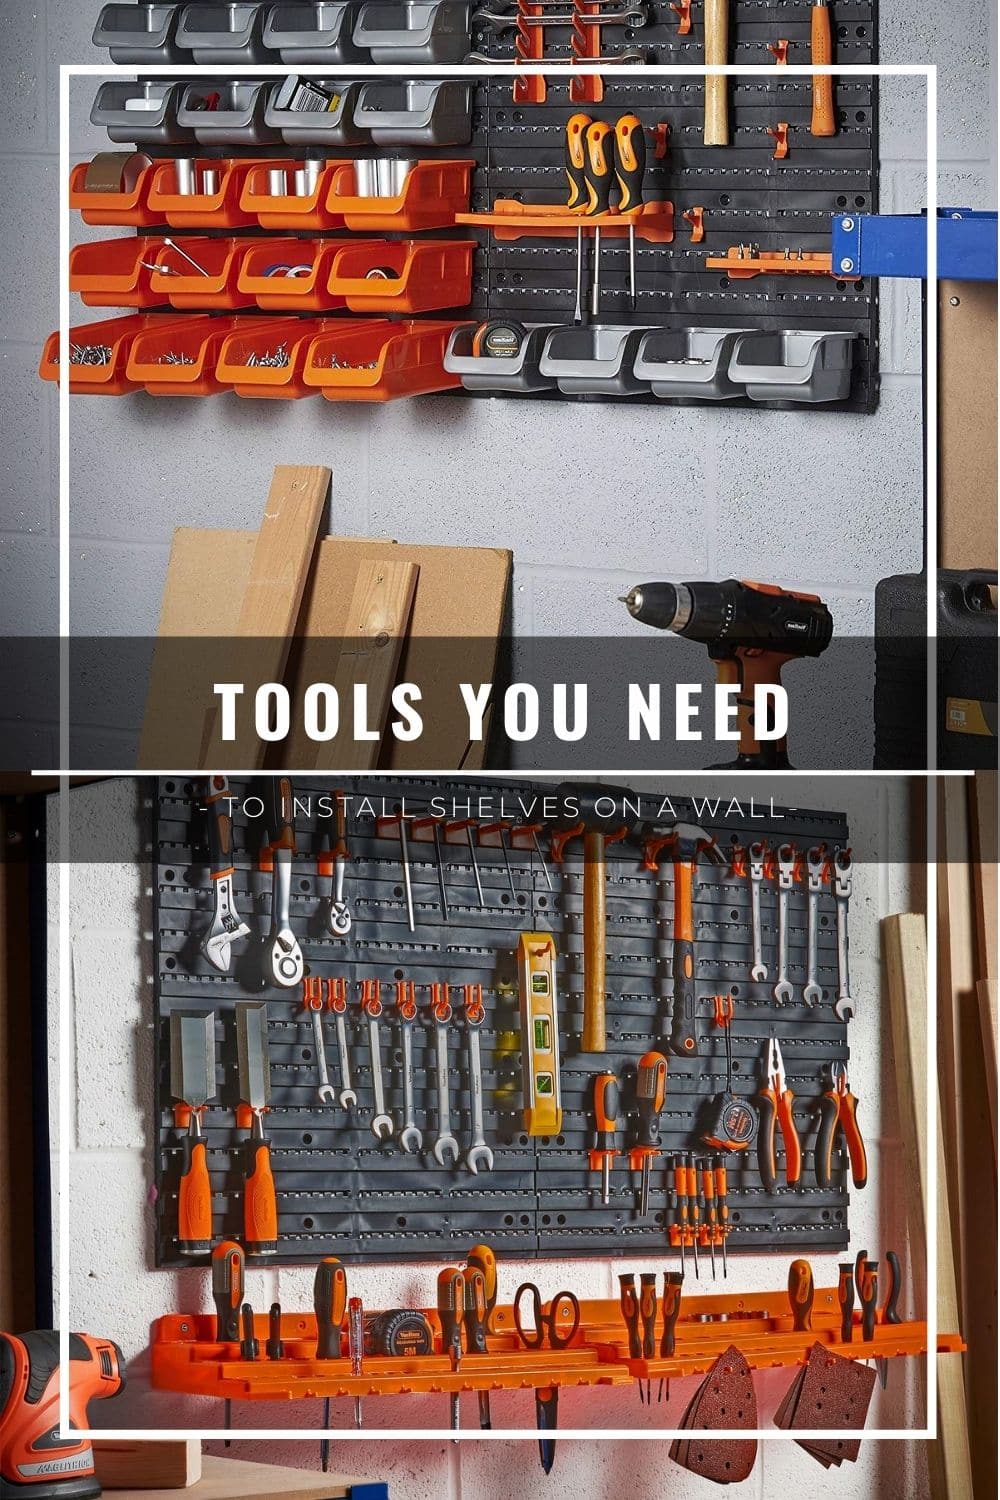
Tools you will need for this project:
- Drill
- Level
- Screws
- Wall anchors
- Stud finder (optional)
Now that you have all the tools you need let’s get started!
1. Begin by measuring the area where you would like to install your shelves. It is important to measure twice to ensure you have the correct measurements. Once you have the measurements, mark the area on the wall with a pencil.
2. Use a stud finder to locate the studs in your wall. If you are not using a stud finder, it is important to use wall anchors. Wall anchors will help support the weight of the shelves and prevent them shelves from falling.
3. Drill pilot holes into the studs or wall anchors. The pilot holes should be slightly smaller than the screws you will be using.
4. Use a level to make sure your shelves are level before you screw them into place. Once you have confirmed that your shelves are level, screw them into the studs or wall anchors.
5. That’s it! You’ve successfully installed shelves on a wall. Now it’s time to fill them with your favorite books, knick-knacks, and more!
How Do You Install Floating Shelves On a Wall?
You will need:
- A level
- A drill
- Drill bits
- Screws
- Wall anchors (if needed)
- A hammer (if using wall anchors)
- A tape measure
- Pencil or pen
1. Use a tape measure to find the center of the wall where you want to install the shelves. Mark this spot with a pencil or pen.
2. Hold the level against the wall at your mark and use it to draw a horizontal line across the wall. This will be your guide for installing the shelves.
3. Choose the location of your first shelf and hold it up against the wall. Use a pencil or pen to mark where you need to drill holes for the screws.
4. Drill holes at your marks and then insert the screws. Be sure to use wall anchors if needed.
5. Repeat steps 3-5 for each shelf you are installing.
6. Enjoy your new shelves!
How Do You Remove Shelves From a Wall?
First, find the studs in the wall using a stud finder; you might need to use a ladder. Then, once you have located the studs, mark their location with a pencil on the wall. Next, use a drill to create pilot holes at the marked locations. Finally, use screws to remove the shelves from the wall.
Installing shelves on a wall may seem daunting, but with the right tools, it can be easy and headache-free. In this article from ADA Fastfix