Orbital Sanders are small handheld machines used for smoothening the surfaces. You may have seen the carpenters smoothening the furniture or a painter abrasing the walls with the small power tools. These power tools are known as the orbital sanders. Well, there are many types of orbital sanders, and each of them serves a particular purpose.
At times, people used to sand the surfaces with their hands using sandpaper. But now you can easily work it out with the use of different types of orbital sanders available in the market. If you are furnishing your home or remodeling your interiors, you would need an exceptionally well made orbital handheld sander to save your time and energy in sanding the surfaces.
In this article, you will see how an orbital sander works and how you can use it to add a shine to your home.
Working of an Orbital Sander
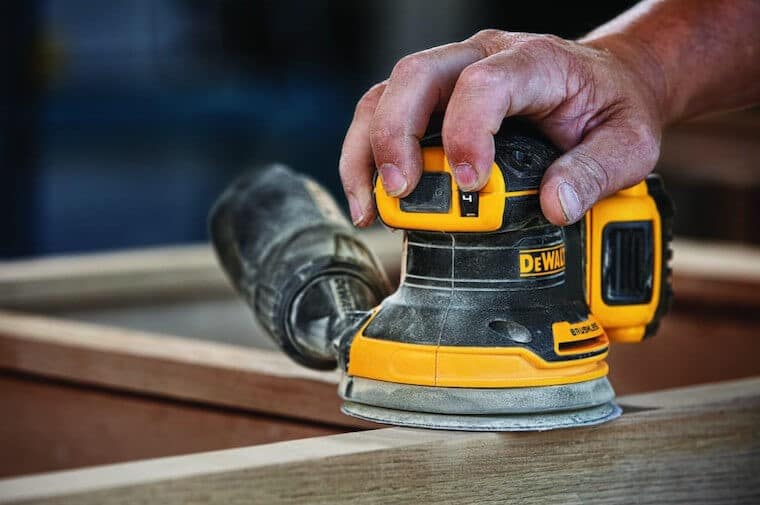
Orbital sanders are electrical machines that have sandpapers attached to their bottom surface. Some of the sanders have circular surfaces, while others have square surfaces. The one with a square surface is called as an orbital sander, while the circular one is called a random orbital sander. Both of their sanding disks move in an elliptical motion and doesn’t traverse the same area twice. This motion helps in smoothening the surface with ease.
The orbital sander with square surface moves in a small circular motion around a smaller orbit. This motion sometimes leaves small swirl marks on the surface in case of wood sanding. The scratch patterns of orbital sanders also differ according to different brands. The orbital sanders will be suitable for you if you need to sand the surfaces with tight edges or corners such as stairs. It has a clip attachment for the sandpaper at the bottom, which you can easily remove and put back as per your requirements. Some of the common sized orbital sanders are called quarter-sheet orbital sanders as they use only a quarter of the sheet of sandpaper. This usage makes the work quite convenient and reasonable.
A random orbital sander with circular surfaces moves back and forth in an oscillation pin. This sander does not leave any swirl marks on the surface. It has a velcro type attachment for the sandpaper, which makes the sandpaper replacement an effortless job.
Effective Ways of Using An Orbital Sander
While starting with the orbital sanders, ensure that you have all the necessary things for your safety. To make it easy for you, we have listed some of the basic things that you should be prepared with before sanding.
- Choose the right sanding disks.
- Buy some gloves to protect your hands.
- Eye protection and a dust mask are also must-haves while working with sanders.
You can use a NIOSH-approved N95 mask to ensure you don’t breathe in harmful dust particles, gases, and vapors. - Make sure to cover the delicate areas.
- Secure the sanding disk properly.
Once you are ready with all the equipment, start the sanding process by keeping the following things in mind.
- Don’t overuse the sandpaper.

The orbital sander consists of a hook and loop system that works as a clip to hold the sandpaper. It allows you to secure the sanding disk and replace it after specific intervals. Before starting the orbital sander, make sure the sanding paper is tightly attached to the sanding disk for a firm grip. You should never over-use the sandpaper as it works less effectively when clogged with dust and other particles.
- Keep the level maintained throughout the sanding process.
While many people start the sanding process by using the edge of the sander, it is not how it is expected to be done. You should always start with the full disk area as it will help maintain the sander’s level throughout your sanding process. It makes the sanding smooth and also distributes equal pressure on the surface.
- Keep moving gradually.
While starting with the sanding, you should go slowly and gradually. Moving the orbital sander instantly with excitement will be of no use to you. So, maintain consistency and move it as the disk rotates from one portion to another. If you keep moving it evenly and slowly, you will end up with a smoother and fine surface of the wood.
- Keep the surroundings clean and clear.
It is obvious that the dust particles will find their way into the air once you start sanding the surface. At times, the dust particles will make you feel uncomfortable and hinder your breathing. Extracting the dust and collecting it is an important step for maintaining the ventilation. The dust particles also have a negative effect on the wooden surface as it comes into contact with the sanding disk.
You can buy a dust collector which is available in the market. It helps collect all the dust particles and keeps the surrounding dust free. It will also help you measure your sanding process as you can clearly see the surface without any dust particles around you.
- Keep even pressure on the orbital sander.

Whenever it comes to pressure, you should always go light on the orbital sander. The reason being it already has enough pressure on the sander along with your hand on it. If you put abundant pressure on the sander, it will be less productive and result in an uneven surface. Also, you will not be able to maintain that same pressure throughout the process, which will also make the surface uneven.
The best way to work with the orbital sander is to switch it on before putting on the surface. Once the machine starts, keep it firmly on the surface and move it with lighter pressure. Before taking it off from the surface, switch it off, and then move it away.
In the end, you will have a smooth and attractive surface with the help of orbital sanders. You don’t even need to find any professional to get your work done. We hope that now you are quite clear and aware of how to use the orbital sanders for any surface.